
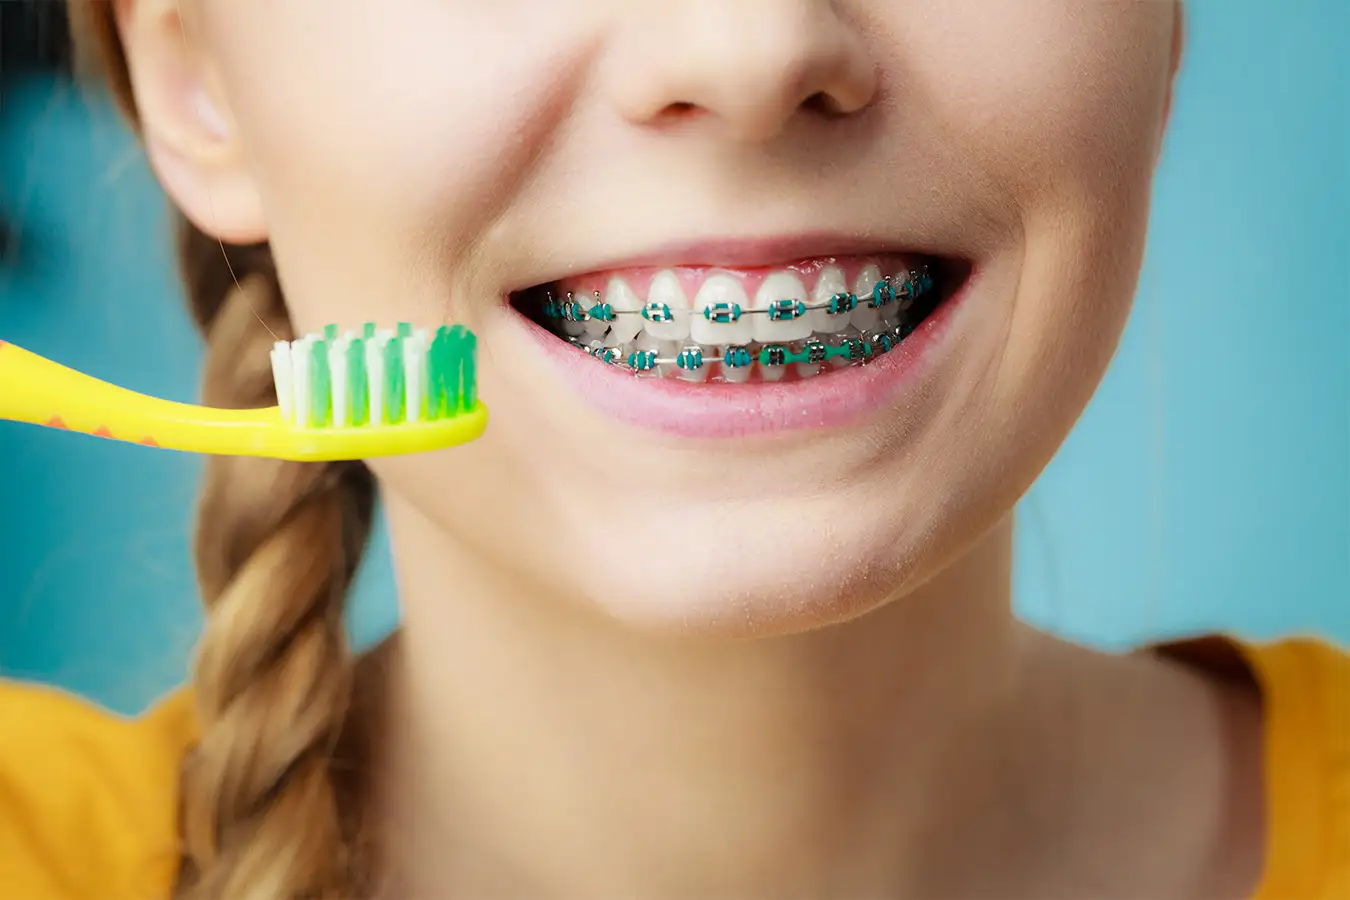
Getting braces is exciting. You’re on your way to a smile that’s even better than you imagined! But let’s be honest: figuring out how to use a water flosser with braces, and keeping your teeth clean around all those brackets and wires, can feel like a puzzle. That’s where a water flosser comes in. This handy tool makes cleaning around your braces so much easier, and once you get the hang of it, you’ll wonder how you ever managed without one.
If you’re a teen figuring out your routine or a parent helping your kid stay on track, this guide has everything you need. New to braces? Just looking for better ways to protect your smile? Either way, you’ll find clear, practical steps right here.
What Is a Water Flosser and Why Does It Matter for Braces?
A water flosser is a handheld device that uses a pulsating stream of water to remove food particles and plaque from between teeth and along the gumline. For braces wearers, it targets hard-to-clean areas around brackets, wires, and bands where food and bacteria build up fast.
Think of it like a mini pressure washer for your mouth. Gentle enough for daily use, but powerful enough to flush out debris that your toothbrush can’t reach. At Imagine Orthodontic Studio, our team recommends water flossers to families across Central Florida because they make such a noticeable difference during your time in braces.
So why does this matter?
Traditional string floss works great for most people. But when you add brackets, wires, and bands into the mix, flossing becomes tricky. You have to thread the floss under the archwire for every single tooth. It’s time-consuming. It’s frustrating. And honestly? Most people skip it more often than they should.
Water flossers are widely recognized by orthodontic specialists as effective tools for removing plaque and reducing gingivitis, especially for braces wearers. These devices can reach spots that string floss simply can’t access easily, like the tiny gaps around each bracket and the areas where the wire meets your teeth. braces page
Many water flossers come with special orthodontic tips designed specifically for braces. These tips have a tapered brush or narrow stream that targets the areas around brackets and wires with precision. Your orthodontic specialist can recommend the right type for your specific situation.
How to Use a Water Flosser with Braces: Step by Step
Using a water flosser isn’t complicated, but there’s a technique that works best for braces. Here’s a quick overview of the steps before we break each one down:
- Fill the reservoir
- Set low pressure
- Position the tip at 90 degrees
- Clean around each bracket
- Flush behind the archwire
- Rinse and store
Fill the Reservoir First
Start by filling your water flosser’s reservoir with lukewarm water. Cold water can be uncomfortable, and hot water might damage the device. If you have an orthodontic tip, snap it into place. This specialized attachment cleans around brackets and wires more effectively than a standard tip.
Set Your Pressure Low to Start
Always begin on the lowest pressure setting. You can increase the intensity once you’re comfortable with the technique. Lean over the sink and keep your mouth slightly open so water can flow out as you work. Starting too high will spray water everywhere, and you’ll end up cleaning your bathroom instead of your teeth.
Where Should You Position the Tip?
Place the flosser tip at a 90-degree angle to your teeth, right where the gum meets the tooth. This is where plaque loves to hide, especially around braces. Keep your lips mostly closed around the tip to minimize splashing, but leave a small gap so the water can drain into the sink.
Work Around Each Bracket Systematically
Move your way around your mouth, pausing briefly between each bracket and wire. Spend about 2-3 seconds on each tooth, focusing on the area directly around the bracket. Top teeth first, then bottom, or whatever pattern works for you. The key is consistency: hit every tooth, every bracket, every time.
Flush Behind the Archwire
This is where the water flosser really shines. Angle the tip to flush behind the archwire (the horizontal wire connecting all your brackets). Food particles love to get trapped back there, and this is nearly impossible to reach with regular floss. Clean around each bracket from multiple angles: above, below, and from the sides.
Rinse and Store Your Flosser
When you’re done, empty any remaining water from the reservoir. Leaving water sitting in the tank can lead to bacteria growth or mineral buildup over time. Remove the tip and rinse it under running water. Most manufacturers recommend replacing orthodontic tips every 3-6 months, or sooner if the bristles look worn.
Key Benefits of Using a Water Flosser During Your Time in Braces
Using a water flosser during your time in braces offers real, measurable benefits for your oral health. Why should you add another step to your routine? Because the payoff is worth it. Here’s what a water flosser can do for your smile.
Protection Against White Spot Lesions and Decay
A water flosser’s pulsating stream reaches into crevices and gaps that are otherwise impossible to clean properly. String floss can only go where you can thread it, but water gets everywhere. This matters because braces create extra places for bacteria to hide. By flushing out food and plaque regularly, you reduce your risk of cavities and gum inflammation.
Those chalky white marks that sometimes appear after braces come off? They’re called white spot lesions, and they’re caused by plaque buildup around brackets. Better cleaning means a lower chance of these unwanted souvenirs showing up on your teeth. Nobody wants to finish their time in braces with marks that could have been prevented.
Real Time Savings and Better Comfort
Let’s be real: threading a floss threader under every archwire takes forever. A water flosser cleans your entire mouth in about a minute. That time savings adds up over months of wearing braces.
Comfort is another big factor. After an adjustment, your gums might feel tender. The water stream is much gentler than pulling string floss through tight spaces, making it easier to stick with your routine even when your mouth is sore. oral hygiene page
Orthodontic specialists consistently emphasize that maintaining excellent oral hygiene while you’re in braces is one of the most important things you can do to get great results. A water flosser makes that goal much more achievable, especially for kids and teens who might otherwise skip flossing altogether.
Water Flosser vs. Traditional Floss vs. Floss Threaders: Which Is Best for Braces?
You’ve got options when it comes to cleaning between your teeth with braces. Here’s how they compare:
| Method | Ease of Use | Time Required | Effectiveness Around Brackets | Estimated Cost |
|---|---|---|---|---|
| Water Flosser | Very easy | 1-2 minutes | Excellent, reaches all angles | $25-$100 upfront |
| Waxed Floss + Threader | Moderate | 10-15 minutes | Good, but limited angles | $5-$10/month |
| Interdental Brushes | Easy | 3-5 minutes | Very good for larger gaps | $5-$8/month |
| Floss Picks | Difficult with braces | 5-10 minutes | Limited, can’t get under wires | $3-$5/month |
Prices and times are approximate and may vary based on brand, retailer, and individual routine.
The bottom line? A water flosser is fantastic for braces, but it works best as part of a team. The Board-Certified Orthodontists at Imagine Orthodontic Studio recommend combining a water flosser with interdental brushes for the most thorough clean. The water flosser flushes out loose debris and cleans along the gumline, while interdental brushes can scrub away stubborn plaque stuck directly on brackets.
String floss still has its place too. Even with a water flosser, using traditional floss a few times a week can help remove plaque that’s really clinging to your teeth. Think of your water flosser as your daily workhorse and string floss as your deep-cleaning backup.
How Much Does a Water Flosser Cost and What Should You Look For?
Water flossers for braces typically cost $25 to $100. Countertop models range from $30 to $100 with larger reservoirs, while cordless portable models cost $25 to $80. Replacement orthodontic tips run about $5 to $10 per pack every 3 to 6 months.
Countertop models plug into an outlet and have larger water reservoirs, meaning fewer refills during use. They’re great for home use and often come with multiple tips for the whole family.
Cordless portable models are battery-powered or rechargeable, making them perfect for travel or small bathrooms. The tradeoff is a smaller reservoir, so you might need to refill mid-session.
When shopping for a water flosser to use with braces, look for multiple pressure settings so you can start low and adjust as needed. Check whether an orthodontic tip is included or sold separately. A reservoir of at least 10 ounces is ideal for a full cleaning session. Real-world reviews from braces wearers can also point you toward the best options.
Many smile studios offer product recommendations or even include oral care kits as part of your customized plan. Your team at Imagine Orthodontic Studio can point you toward the best option for your budget and braces type.
Who Should Use a Water Flosser with Braces?
At Imagine Orthodontic Studio, we recommend water flossers for almost anyone going through their time in braces. Here’s who benefits most:
- Anyone with traditional metal or ceramic braces. Brackets and wires? A water flosser will make your life easier. Period.
- Kids and teens who struggle with manual flossing. Getting young people to floss regularly is already a challenge. Add braces, and it becomes nearly impossible. A water flosser feels more like a gadget than a chore.
- People with sensitive or inflamed gums. If your gums bleed when you floss or feel tender after adjustments, the gentle water stream is much more comfortable.
- Clear aligner and retainer wearers, too. Even if you’re using Angel Aligners instead of traditional braces, a water flosser helps keep your teeth and gums healthy. It’s also great for cleaning around permanent retainers. Angel Aligners page
- Anyone who simply wants faster, easier oral hygiene during their time in braces.
If you have specific gum conditions or you’re unsure whether a water flosser is right for you, talk to your Board-Certified Orthodontist. They can give you specific advice based on your oral health needs and where you are in your customized plan.
Frequently Asked Questions About Water Flossers and Braces
Can a Water Flosser Damage My Braces?
No. Your brackets and wires are designed to withstand normal eating and cleaning. Stick to low or medium pressure settings, and turn it down if anything feels uncomfortable.
How Often Should I Water Floss with Braces?
Aim for at least once daily, ideally before bed. If you can, use it after meals too, especially after eating foods that tend to get stuck in braces like popcorn, bread, or leafy greens.
Can a Water Flosser Replace Regular Flossing Entirely?
A water flosser is a powerful tool, but most orthodontic specialists recommend using it alongside traditional floss rather than as a full replacement. The water stream is excellent at flushing debris and cleaning along the gumline. But string floss can physically scrape plaque off tooth surfaces in ways water alone cannot.
What Pressure Setting Should I Use for Braces?
Start on the lowest setting and gradually increase to a comfortable level. Most people with braces find that low to medium pressure works best. Higher settings aren’t necessarily better.
Is a Water Flosser Worth the Investment?
Absolutely. Most braces are worn for 12 to 24 months, and maintaining excellent oral hygiene throughout that time is crucial for achieving the best results. When you compare the cost of a water flosser to the potential cost of treating cavities or white spot lesions after braces, it’s a smart investment.
When Should I Use My Water Flosser, Before or After Brushing?
Many orthodontic specialists recommend water flossing before brushing. This loosens and flushes away food particles, allowing your toothbrush and toothpaste to work more effectively. Some people prefer to brush first and then water floss as a final rinse. The most important thing is that you do both consistently.
Keeping your teeth clean with braces doesn’t have to be a struggle. A water flosser simplifies your daily routine and helps protect your smile throughout your time in braces. Combined with regular brushing and occasional string flossing, it’s one of the best tools you can have in your oral care kit.
Have questions about the best oral hygiene routine for your braces? Your orthodontic team at Imagine Orthodontic Studio, your neighborhood smile studio in Central Florida, can help you build a plan that fits your life and keeps your smile on track. Schedule a free consult. So let’s do this!